Steps to Process Forms against a Form Set
Once your form set is created, defined, and saved, you're ready to process your filled-in forms against it. To do this, follow the following steps below:
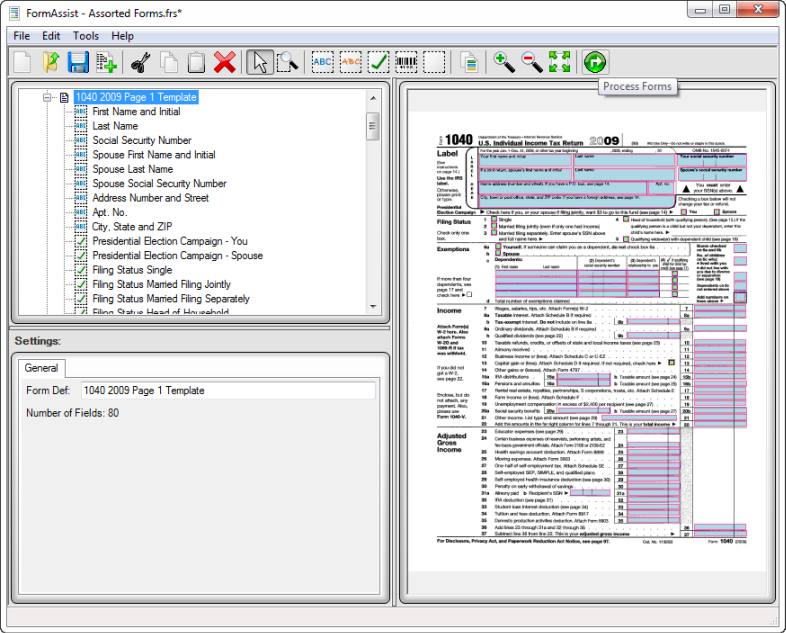
1. Click on the Process Forms button on the toolbar or select Tools > Process Forms from the menu bar.
FormAssist with focus on Process Forms toolbar button
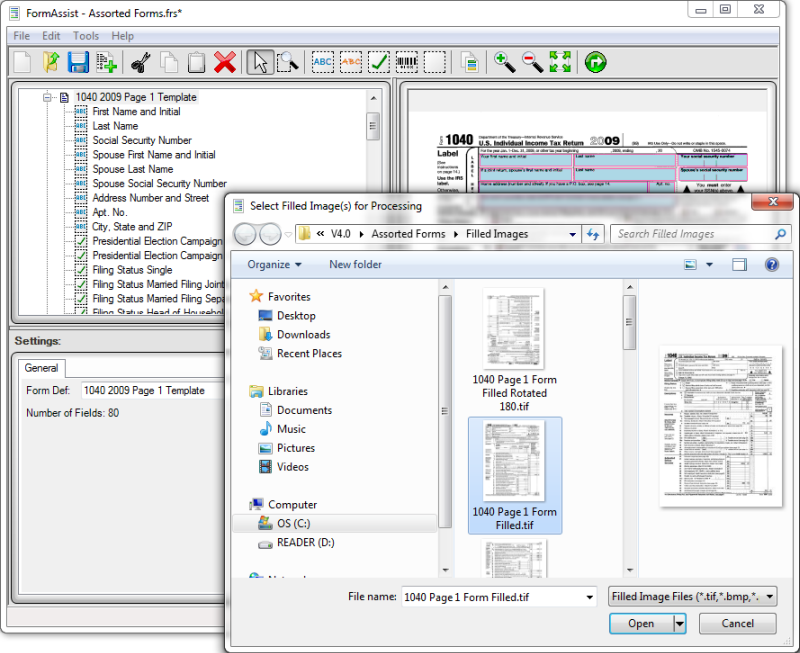
2. Select one or many filled-in forms to compare/process against the current form set from the browsing dialog, then click Open.
FormAssist allows you to process bitonal, grayscale, or color images, of filetype .tif, .bmp, .pdf, .png, or .jpg.
The use of PDFs as filled images requires the optional Accusoft PDF Xpress component.
Filled images which are not bitonal must be binarized by ScanFix Xpress using the Auto Binarize or Binarize checkbox on the ScanFix Xpress tab. Ensure that you perform binarization prior to any operations which require bitonal input (such as Despeckle).
Click the Validate button on the ScanFix Xpress settings tab to know if you have operations which are out of sequence for your type of input.
If you forget to binarize prior to processing a color image or a PDF, you will get the error message, "Failed to process image: this function does not support the bit depth of the current image.”
See Form Set ScanFix Xpress Properties for details on the Auto Binarize checkbox.
The use of PDFs as filled images requires the optional Accusoft PDF Xpress component.
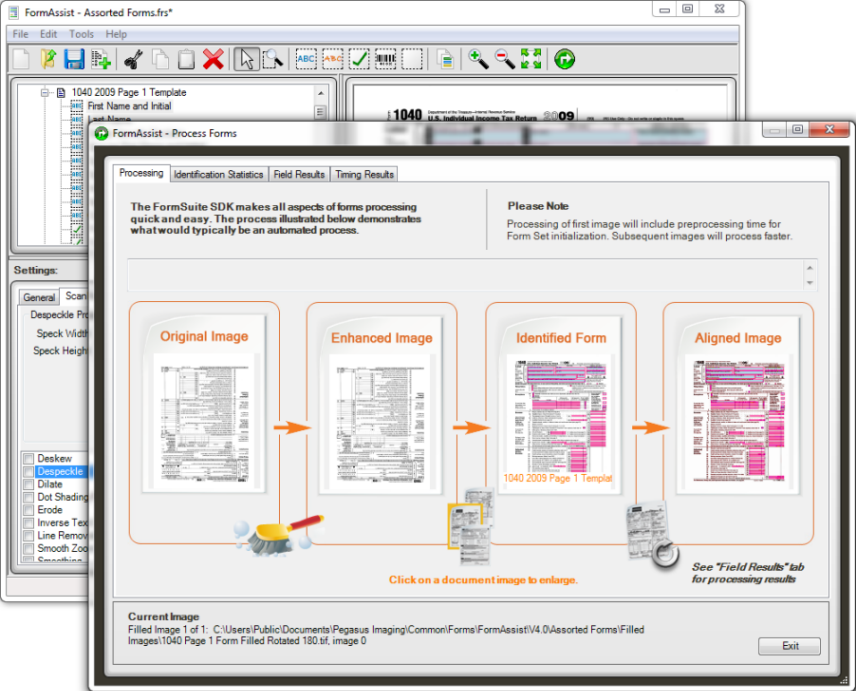
3. Processing occurs automatically.
The first filled-in form image to be processed may take longer. Once the first image has been processed, processing quickens considerably.
Process Forms window
Processing Form View
The lower end of the Process Forms window has the Processing Form View. This area displays the current filled-in form image number of the total images selected, the current form directory, and form name as well as the Next and Exit buttons to continue or end form processing at any time.

Processing Form View
Results Pages
There are four tabs at the top of the Process Form window. These are results pages and are tabulated below with links to their respective topics that give detailed information.
| Result Page | Description |
| Processing | This page displays an image view of the form that is currently being processed. |
| Identification | This page lists the templates, rotation, confidence and number of matches against the current filled-in form being processed. |
| Field Results | This page displays each field's analyzed results. By selecting a field in the Tree View, the field area on the image displays in the Image View with the analysis results displayed below the image in the Results View. |
| Timing Results | This page displays the form status, time for each process and the number of form images processed and identified. |
No Match for a Template Image
Here are some of the issues that might result in there being no match for a template image, and possible solutions.
- FormAssist will process your forms one at a time, attempting to match each form to a defined form template within the form set.
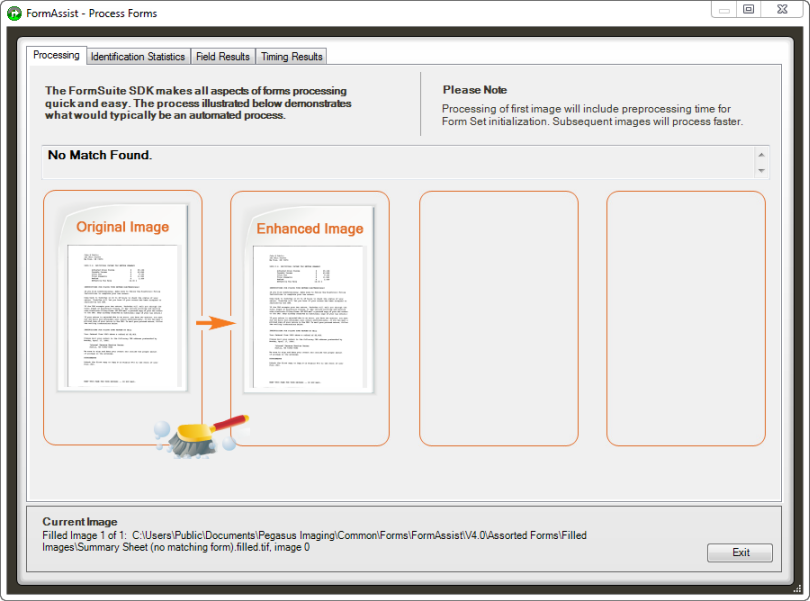
- If FormAssist cannot match a form to a form template within the form set, a message is displayed in the status bar of the process window stating "The filled image did not match a template image", and processing will stop.

Process Forms window with an image that did not match any of the templates
- If FormAssist cannot match a form to a form template within the form set, a message is displayed in the status bar of the process window stating "The filled image did not match a template image", and processing will stop.
- Click the:
- Next button to continue onto the next filled-in form or
- Exit button to discontinue forms processing and fix the registration and identification issues.
- See the Form Set Identification and Image Enhancement and Dropout topics for information on identification, template matching, and image clean up to improve these issues.


